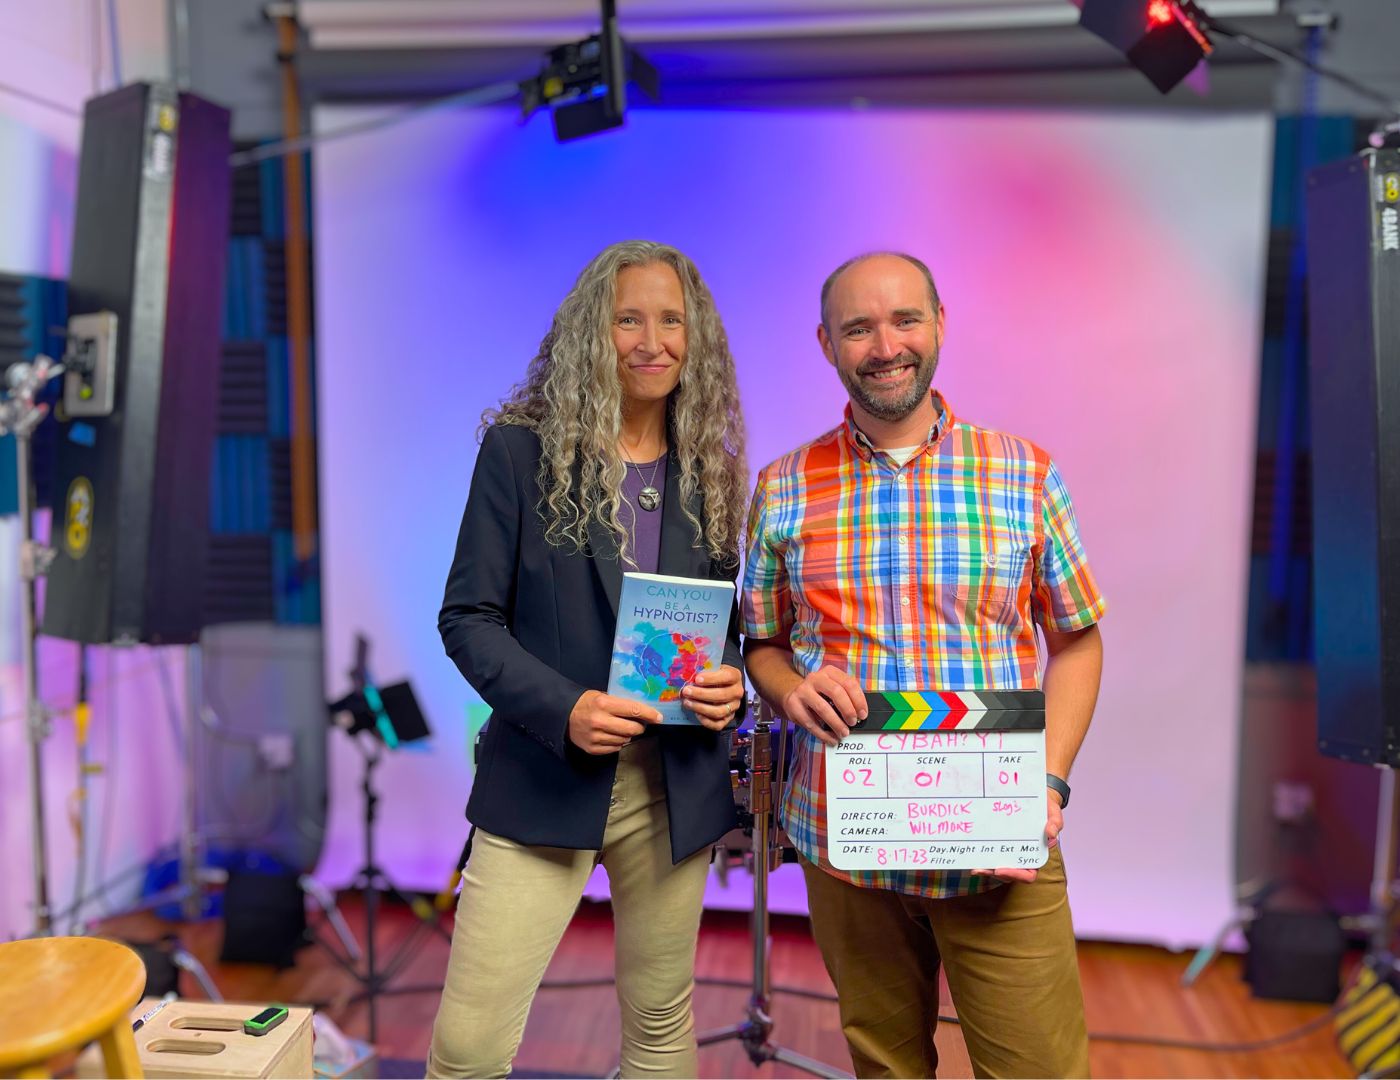
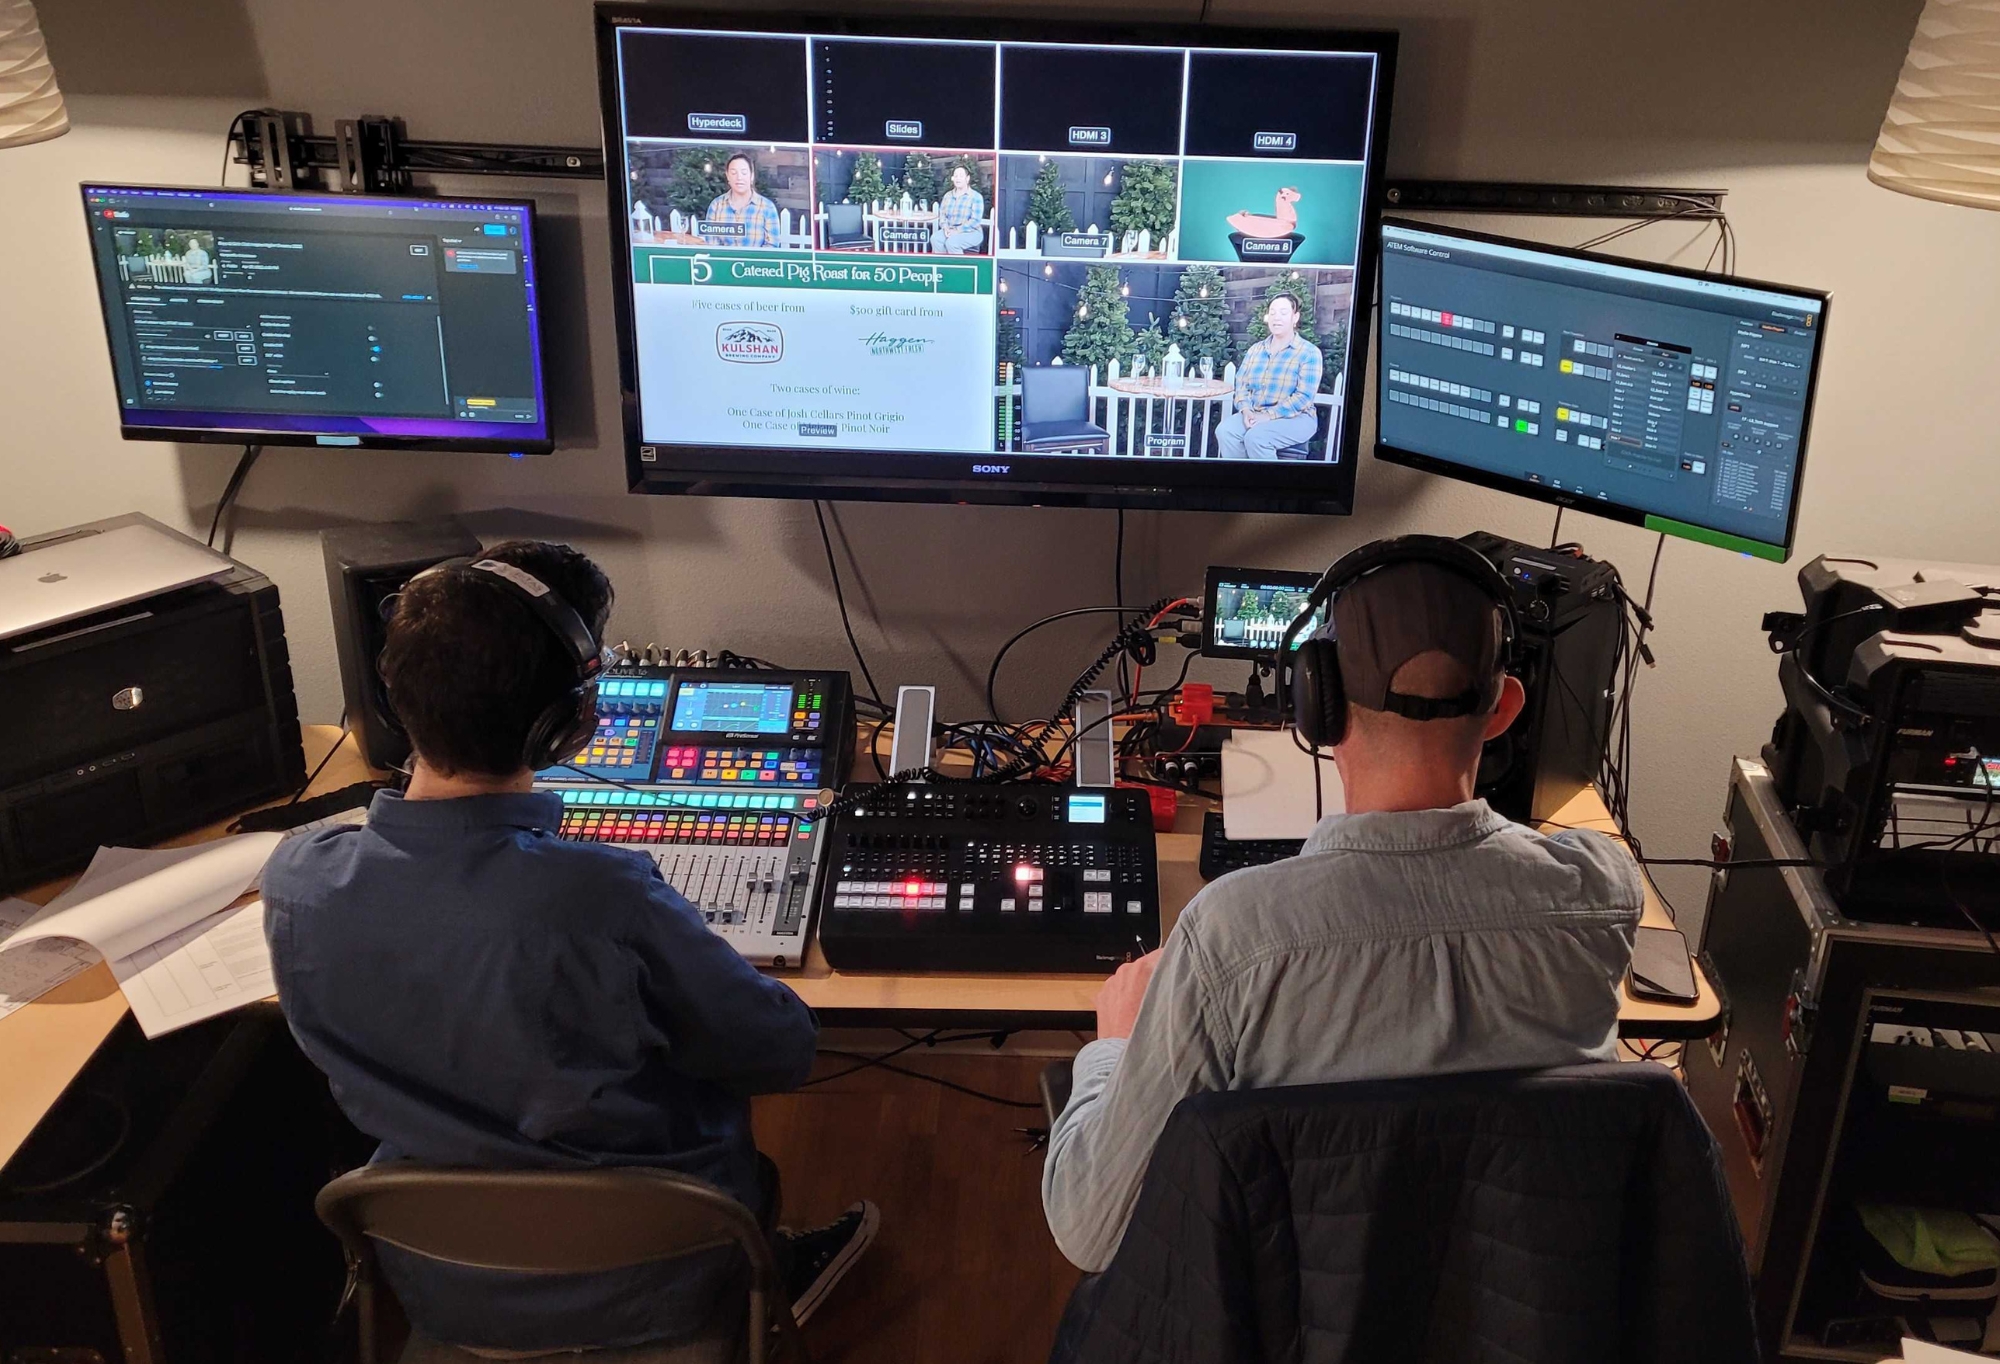
Whether you’re working on a budget, or just looking to flex your creative muscles, there may be times you want to record some of your own video for a project with us. That’s great! Here are some tips to make your video look its best. (And when you’re ready to send your videos our way, check out our post on the specs we need to work with!)
It all starts with pre-production
Pre-production is the phase where we document and plan what the final video is going to look like. It’s the most important step in our process, and we highly recommend you start there, too! Take a few minutes to write out what you want to say and show, and the order in which you want to do it.
If you’ll be presenting from a script (as opposed to an interview, for example) a teleprompter can be a useful tool. Here’s one you can use on your phone when recording!
Use plenty of light
The rule is just like taking a good selfie: lighting makes a huge difference in the quality of your video. Whenever possible, record near a source of indirect natural light—by a window, or outside on an overcast day, or in a shaded area on a bright, clear day.
Capture clear, crisp audio
Audio quality is arguably more important than your video quality—it doesn’t matter how good your video looks if no one can understand what you’re saying! Record in a quiet, isolated space that minimizes background noise like road traffic & sirens, HVAC units, etc. When recording audio only (like for a voiceover) record in your closet where clothes and carpet can absorb echo and excess noise.
Another quick note on audio: If you have a specific music track you want to use, send that to us separately—don’t add it into your video. This gives us more control on editing the volume of the spoken portions of the video, then we can add your music track under that.
Camera handling
If you’re recording on a phone, remember to rotate it and record horizontally. You can also avoid “shaky cam” by having your camera operator anchor themselves on a surface like a countertop, table, or a wall. For a more flattering angle, try to get the camera just above your talent’s eye level, and slightly tilted down.
Got budget?
If you plan on doing a lot of DIY video and have a bit of money to spend, these minor purchases below will be well worth your investment!

Phone tripod stand | For less than $20, you can eliminate shaky cam (and, sometimes, the need for a camera operator, too) with a tripod made to hold your phone. Most models will also work with a small DSLR, action cam, or point-and-shoot camera.
Here’s one option from Amazon.
Bonus: some tripod stands come with a ring light that can add flattering, even lighting to your subject. Check out this one on Amazon.

Starter lapel mic | Instantly improve your audio quality with a simple lavalier (aka lapel) microphone. Simply clip onto your shirt, hide the cable behind you or under your clothes, and you’re good to go. There are models out there that can connect to your phone, computer, or tablet. We like this model by PowerDeWise, available on Amazon.


